

I may not be the most crafty person like my husband, but I enjoy crafting with my family. This holiday season, I had the idea to make a DIY Rustic Holiday Wall Hanging Ornament.
My daughter and I spent a few enjoyable hours creating these ornaments. We’re not the most patient people, but we managed to make the best of it. We had Christmas music playing in the background, her cookies baking in the oven, and this DIY holiday project that I’ve been wanting to make since November.
I think the ornaments turned out great. I spent only about $10 on materials. I found some dry pine branches at the park, which added a touch of green. If you can’t find them outdoors, you can always buy them from a craft store.
Unfortunately, I couldn’t find any pinecones because of the unusual amount of rain we had so I think they decomposed. I was lucky enough to find them in our craft store, but you can certainly buy them in Dollar General stores, and I believe in the flower departments of your grocery store.
I have a few other DIY ideas so hopefully I’ll share them this or the next winter season.
A Simple DIY Guide:
Add a touch of nature to your holiday décor with this charming wall hanging made from natural elements. It’s easy to make, budget-friendly, and adds a warm, rustic vibe to any space.
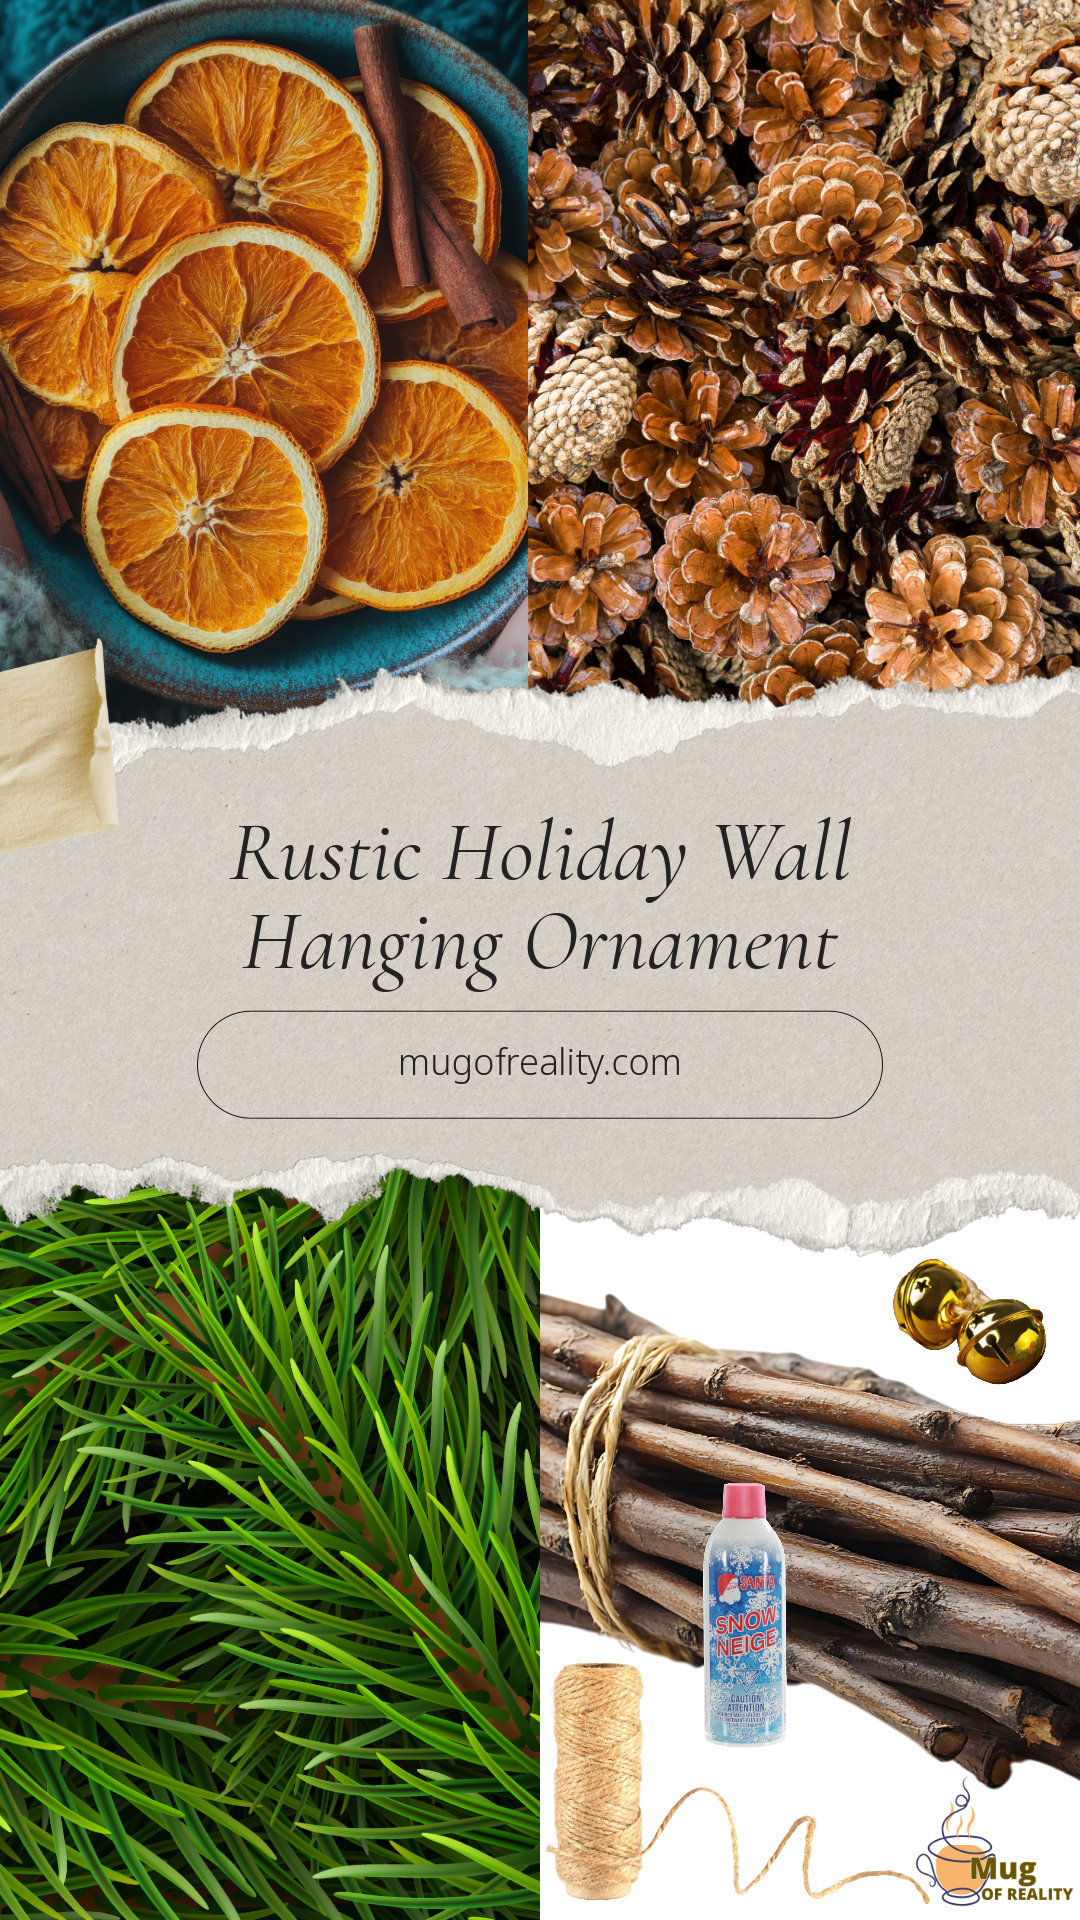
Materials Needed:
• A small dry branch or twigs
• Fresh or faux pine sprigs
• Dried orange slices
• Pinecones
• Small bells (optional)
• Twine or string
• Hot glue gun and glue sticks, if needed
• Scissors
• Fake Snow Spray (optional)
Step 1: Gather Your Materials
Take a walk outside to collect sturdy branches and pinecones (you can also buy them at crafts stores, and dollar stores), or use craft store materials. If you don’t have dried orange slices, you can easily make them:
- Slice oranges thinly (about ¼ inch thick).
- Place them on a baking sheet lined with parchment paper, but you can also bake them on a non-stick baking sheet without parchment.
- Bake at 200°F (90°C) for 4 to 5 hours, flipping halfway through, until dried. Alternatively, you can use an air fryer to dehydrate the fruit. Whatever is easier for you.
Step 2: Assemble the Base
- Choose a branch about 12-18 inches long, depending on your desired size.
- Use twine or hot glue to attach the pine sprigs to the branch, arranging them so they look full and balanced.
Step 3: Create the Hanging Elements
- Cut pieces of twine to your desired lengths (about 6-8 inches).
- Tie or glue one end of the twine to dried orange slices, pinecones, and bells.
- Attach the other end of the twine to the branch, spacing them evenly.
Step 4: Add Finishing Touches
- Adjust the arrangement to ensure everything hangs evenly.
- Optional: Spray a bit of faux snow, or glitter on the pine sprigs for extra holiday sparkle.
Step 5: Hang and Enjoy
- Tie a longer piece of twine to both ends of the branch to create a hanger.
- Display your rustic wall hanging on a wall, door, or above a mantel for a festive touch.
Tips for Customization:
- Swap the pine sprigs for eucalyptus for a fresh, modern look.
- Add ribbons, mini ornaments, or fairy lights for extra flair.
- Use cinnamon sticks or star anise for an added festive aroma.
This DIY project is simple yet stunning, perfect for creating a cozy holiday atmosphere.

Let me know how it turns out!
Happy Crafting,
S A N N A
You can follow me on Instagram @mugofreality & Pinterest @mugofreality
Latest posts:

This looks so awesome and festive! I’d love to see more stuff like this for different seasons!
Thanks, Lainey! I am planning to post something cute but easy.😉